☑︎ Actualizada para 2025 – con estrategias más inteligentes y cero tecnicismos.
Seamos sinceros: la mayoría trata el SEO on-page (“dentro del sitio”) como una lista de tareas aburrida.
Meten un par de palabras clave, ponen un título meta, quizás comprimen una imagen… y listo 🤷
Pero la realidad es otra:
Google no quiere páginas “optimizadas”. Quiere contenido útil y relevante – y se ha vuelto terriblemente bueno distinguiendo entre ambos.
Así que esta guía no trata de “engañar al sistema”.
Se trata de entender exactamente qué ayuda a posicionar una página hoy en día – y cómo estructurar tu contenido, diseño y marcado para que tanto tus lectores como Google digan:
¡Esto era justo lo que estaba buscando!
Ya sea que estés construyendo una marca, escribiendo un blog o vendiendo kits de tejido subacuático (sí, existen), este es el desglose práctico del SEO on-page que necesitas en 2025:
Los 5 Elementos Clave de una Página Web
1. Optimización de Contenido
2. Optimización de Imágenes y Multimedia
3. Diseño, UX y su Influencia Sutil
4. Navegación e Interlinking
5. Meta Tags Que Realmente Funcionan
Consejos Avanzados: Core Web Vitals y UX Móvil
Checklist de SEO On-Page
Reflexión Final + Comparte tu Experiencia
¿Qué es el SEO On-Page en 2025?
El SEO On-Page es todo lo que haces dentro de tu propio sitio web para mejorar su posicionamiento en los motores de búsqueda 📈
No hablamos de backlinks.
Ni de redes sociales.
Hablamos solo de lo que puedes controlar tú directamente:
– es decir, el contenido, las imágenes, el título de la página, el diseño, y los enlaces internos a otras páginas del mismo sitio.
Muchas veces se subestima… ¡porque parece demasiado obvio!
Pero aquí va el dato importante:
Incluso los sitios “autoritarios” pueden posicionar mal si sus páginas son un desastre — y hasta los blogs más pequeños pueden superar a los grandes si tienen mejor estructura, contenido y formato.
…Google puede respetar tu dominio, sí — pero sigue evaluando cada página por méritos propios.

Por eso el SEO On-Page es más importante que nunca en 2025 — porque Google mejora constantemente su capacidad para medir la experiencia real del usuario. Y tú tienes control total sobre cómo se comportan tus páginas en ese sentido.
Entonces, ¿qué es exactamente lo que hace que una página funcione bien – y cuáles son las partes que más influyen en el SEO?
Los 5 Elementos Clave de una Página Web
Cada página web – por muy bonita o minimalista que sea – está compuesta por unos cuantos bloques fundamentales.
Y si te tomas en serio el SEO, ¡cada uno tiene que hacer su parte!
Veamos con qué estamos trabajando:
- Contenido (Texto) – el alma de la página 💪 Artículos, descripciones de productos, tutoriales, guías… aquí es donde aportas valor.
- Multimedia – imágenes, vídeos, audios, gráficos, GIFs 🖼️ hasta un pulpo 3D embebido si es lo tuyo. Los elementos visuales importan más que nunca – pero hay que usarlos bien.
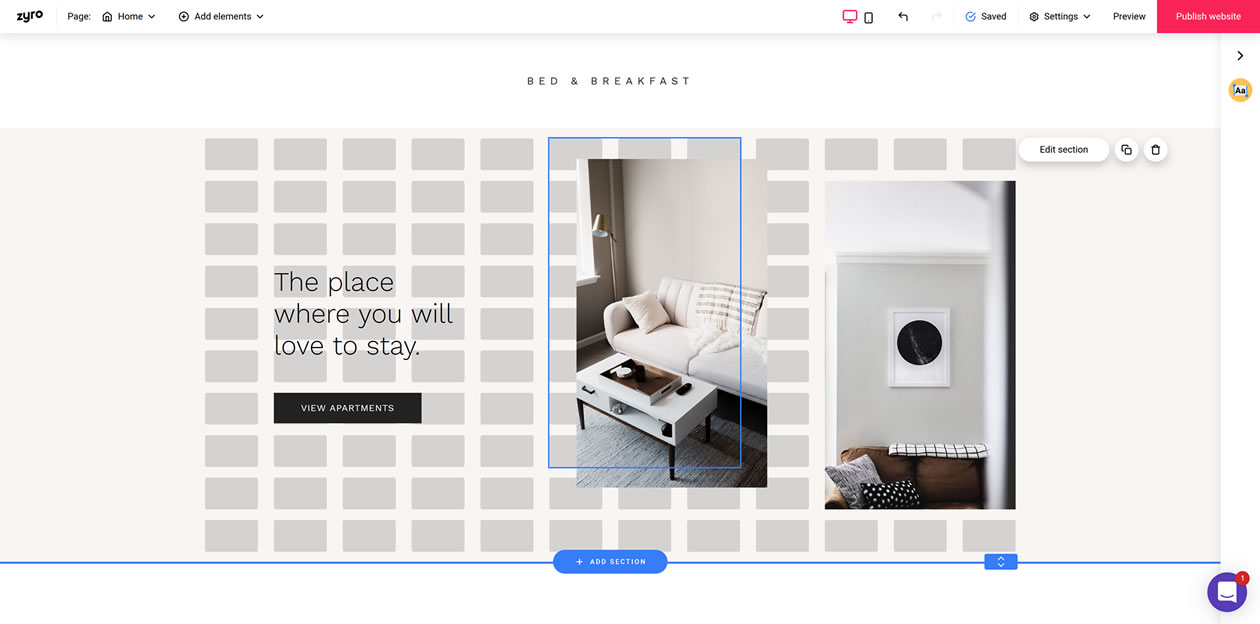
- Diseño y Maquetación – cómo está estructurada y presentada la página 📐 Piensa en espacios, encabezados, tipografías, colores. A Google no le importa si se ve “cool”, pero a tus usuarios sí — y Google los observa con lupa.
- Navegación – menús, enlaces internos, pie de página 🧭 Todo lo que ayuda a tus usuarios (y a los motores de búsqueda) a moverse más fácilmente.
- Elementos Meta – todo ese marcado “invisible” como el título, la meta descripción o las vistas previas para redes sociales 🥷 No siempre se ven en la página, pero influyen muchísimo en cómo apareces en los resultados de búsqueda.
Y lo mejor de todo es esto:
Si haces que estos cinco elementos trabajen juntos, no solo vas a posicionar mejor — vas a crear páginas que la gente realmente disfruta.
En las siguientes secciones veremos cada uno de estos cinco con más detalle:
1. Optimización de Contenido para Humanos (y Algoritmos)
Puede parecer obvio en 2025, pero vale la pena repetirlo: olvídate del keyword stuffing.
Si tu página suena como si la hubiese escrito un robot 🤖, va a posicionar como si la hubiese escrito un robot (o sea, mal).
Una cosa importante que debes tener siempre presente:
Escribir para personas y posicionar bien en Google ya no son objetivos distintos — son la misma cosa.
Para que tu contenido funcione tanto para tus lectores como para los motores de búsqueda, enfócate en estos tres pilares:
| ✅ Fácil de leer | ✅ Enfocado en la intención | ✅ Bien estructurado |
|---|---|---|
| Lenguaje claro, natural y directo | Responde la pregunta real del usuario | Usa encabezados, listas y elementos visuales |
| Evita jergas o relleno de palabras clave | Aborda el problema, no solo la palabra clave | Sigue un flujo lógico con subtópicos claros |
Así es como se ve eso en la práctica:
- Usa una sola etiqueta H1 por página. Es el título principal. Incluye tu palabra clave si encaja naturalmente, pero no la fuerces.
- Divide el contenido con H2, H3 y listas. Google adora la estructura. Y los ojos humanos cansados también.
- Escribe como hablas. Si te ves metiendo a la fuerza frases tipo “dentista barato Madrid”, respira hondo 😮💨 Google ya entiende sinónimos y contexto.
- Cubre subtemas relacionados. Una sola página puede posicionar para decenas de búsquedas si cubres bien el tema, no solo una palabra clave repetida.
- Hazlo legible. Usa párrafos cortos, palabras sencillas y transiciones claras. Escribe como un humano que quiere ser entendido, no como un paper académico.
Y si te estás preguntando sobre la “densidad de palabras clave”…
No lo hagas. En serio. No importa desde hace años — y obsesionarte con el 3,5% solo hará que tu contenido sea peor.
Por cierto: ya que estás leyendo esta guía, fíjate cómo todos estos consejos están aplicados aquí 😉
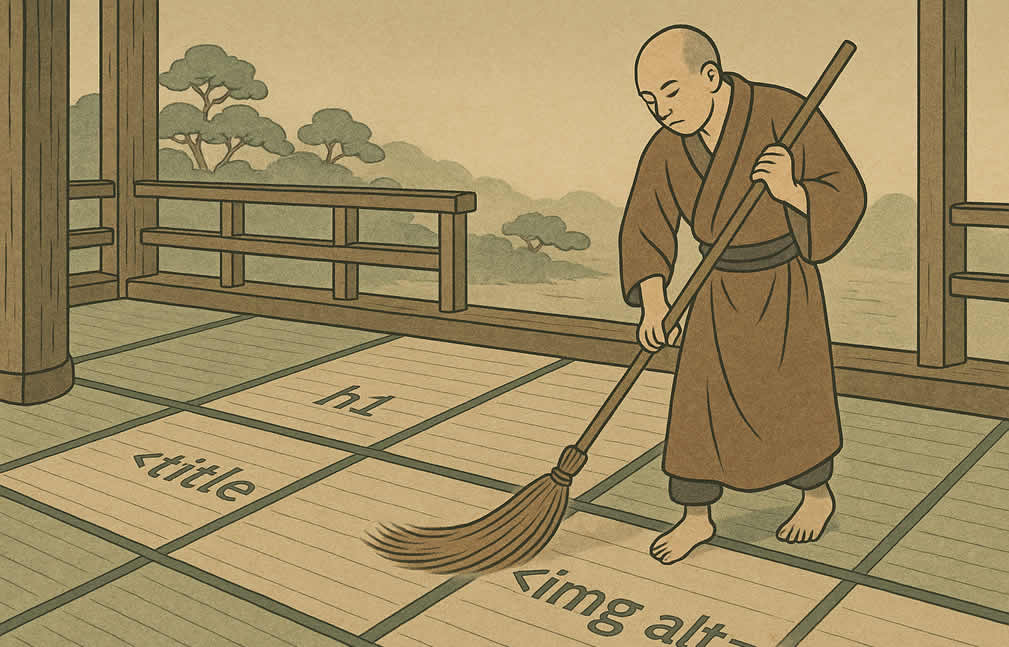
2. Optimización de Imágenes y Multimedia: Más Allá del Alt Text
La web en 2025 es un medio cada vez más visual.
Las pantallas son más nítidas, las conexiones más rápidas… y la atención humana… bueno, esa va en declive 🐟
Los elementos visuales bien utilizados pueden mejorar el engagement, reducir el rebote e incluso mejorar el posicionamiento — pero solo si están bien optimizados.
Aquí tienes las prácticas más importantes para que el contenido multimedia ayude a tu SEO, en lugar de sabotearlo:
- Usa nombres de archivo descriptivos. En lugar de
IMG_0923.jpg, llama a tu imagenseo-checklist-2025.png. Google ya puede “ver” el contenido visual, pero un buen nombre sigue siendo útil. - Incluye texto alternativo (alt text). Sigue siendo clave. Mejora la accesibilidad, ayuda a los lectores de pantalla y es un factor de posicionamiento en búsqueda de imágenes.
- Comprime tus imágenes. Archivos grandes = páginas lentas = posiciones más bajas. Herramientas como TinyPNG o ImageOptim hacen el trabajo sin perder calidad.
- Usa el formato adecuado. Ilustraciones o capturas de pantalla:
PNG. Fotos:JPEG. Para mejor rendimiento: consideraWebP. Puedes convertirlos gratis con CloudConvert. - Coloca las imágenes cerca del contenido relevante. Google analiza el texto alrededor para entender de qué trata la imagen.
- Agrega pies de foto (captions). Especialmente si aportan contexto extra. Además, los captions mejoran el escaneo y son de los elementos más leídos en una página.
Consejo extra: no te olvides del 📽️ vídeo. Si vas a embeber contenido en video, incluye un título, una breve descripción y, si es posible, una transcripción.
Resumen rápido:
| ❌ Esto NO | ✅ Esto SÍ |
|---|---|
image001.jpg |
homepage-speed-test-2025.png |
Sin alt o alt="" |
alt="Resultado del test de velocidad: 97/100" |
| Imágenes full-width de 2MB | Imágenes comprimidas de menos de 300KB |
Recuerda: el contenido visual está ahí para complementar tu texto — no para ralentizar tu web ni confundir a los buscadores. Úsalo con cabeza.
3. Diseño, UX y su Influencia Sutil en el SEO
Vamos a dejar esto claro desde el principio:
Google no “ve” el diseño de tu web… pero no hace falta. Lo que sí ve es cómo reaccionan los usuarios ante él.
Diseños caóticos, colores chillones, menús confusos, tipografía minúscula… no son solo decisiones de mal gusto — son asesinos de tráfico.
Porque esto es lo que pasa:
🛬 Alguien llega a tu página…
😖 Se agobia o se frustra con la interfaz…
🔙 Y se va en menos de 3 segundos.
Eso se llama rebote — y Google lo tiene bien medido.
De hecho, es uno de los factores más importantes que influyen en el ranking:
Si los usuarios anteriores salieron huyendo, ¿por qué debería Google enviar más tráfico a esa página?
Así que aunque el diseño no sea un factor directo de posicionamiento, sí afecta a las señales de experiencia del usuario — y esas sí cuentan en los algoritmos de búsqueda.
Consejos de diseño que ayudan al SEO:
- Deja respirar tu contenido. Usa espacios en blanco. Páginas atiborradas de texto y botones confunden y cansan.
- Mantén una jerarquía visual clara. H1, H2, H3… asegúrate de que tanto el orden como el tamaño reflejen su importancia.
- Haz que el texto sea legible. Nada de grises claritos ni fuentes de 12px. Usa al menos 16px y buen contraste para todo el texto.
- Diseño responsivo sí o sí. Estamos en 2025 y la mayoría del tráfico es móvil. Si tu web obliga a hacer zoom o deslizar horizontalmente… adiós rankings.
- Destaca lo importante. Usa colores, íconos, bloques, negritas o separadores para llamar la atención — especialmente en CTAs y puntos clave.
¿Y qué pasa con el contenido oculto?
Seguramente has oído debates SEO sobre pestañas, acordeones y otras secciones colapsadas.
Sí, en su día (2010–2015) hubo polémica… pero ahora las cosas están claras:
| 📱 Desde el UX | 🧠 Desde el SEO |
|---|---|
| Google acepta sin problema pestañas y acordeones — especialmente en móviles, donde ayudan a reducir el ruido visual. | El contenido dentro de estos elementos sí se indexa, pero puede tener un poco menos de peso. |
¿Deberías usarlos entonces? Sí, con moderación.
No escondas el contenido clave — y asegúrate de que esté visible en el código fuente de la página.
4. Navegación e Interlinking: Buenas Prácticas
La navegación de un sitio web es como los servicios públicos: 👷 nadie la nota cuando funciona bien… pero todo el mundo se queja cuando no.
Una buena estructura de navegación ayuda a tus visitantes a encontrar lo que buscan — y ayuda a Google a entender cómo está organizado tu contenido.
Y no se trata solo de menús: se trata de cómo los usuarios (y los motores de búsqueda) se mueven por todo tu sitio. Aquí van algunas prácticas recomendadas:
| ✅ Haz Esto | ❌ No Esto |
|---|---|
| Usa un menú principal claro y consistente en todas las páginas | Esconde la navegación detrás de íconos raros o animaciones |
| Haz que tu logo enlace siempre a la página de inicio | Haz que el logo apunte a sitios externos o a rutas confusas |
| Utiliza breadcrumbs para mostrar la jerarquía de páginas | Confiar solo en el botón “atrás” del navegador |
| Enlaza entre artículos o secciones relacionadas según el contexto | Deja páginas huérfanas sin enlaces entrantes |
Muchos de estos puntos parecen de sentido común… pero se olvidan más de lo que imaginas.
Vamos a profundizar en dos de los más subestimados: enlaces internos y breadcrumbs.
¿Por Qué Son Importantes los Enlaces Internos?
Los enlaces internos no solo ayudan a tus usuarios — también transfieren autoridad SEO (aka link juice 🍉) entre páginas.
Eso significa:
- Más visibilidad para páginas clave. Si enlazas estratégicamente a tus contenidos importantes, guías a los visitantes (y a Google) justo donde quieres.
- Mejor rastreo por parte de Google. Una buena red de enlaces internos ayuda a los bots a encontrar e indexar todo tu sitio más rápido.
- Mayor tiempo en tu web. Más enlaces = más clics = más minutos navegando. Eso también mejora tus señales de engagement.
💡 Consejo profesional: usa texto ancla con palabras clave — en vez de “haz clic aquí“, mejor algo como “guías útiles para webmasters“. Mejor para humanos y para bots.
Breadcrumbs: El Héroe Silencioso
Los breadcrumbs (migas de pan) son pequeños enlaces que muestran dónde estás dentro de la jerarquía del sitio. Algo así:
Inicio › Blog para Webmasters › SEO On-Page
Son geniales para orientar al usuario, reducir el rebote y darle contexto extra a los buscadores. Y lo mejor es que…
…la mayoría de los CMS (incluido WordPress) tienen plugins o temas que los integran fácilmente.
Así que, a menos que tu estructura de sitio sea ultra plana, no usar breadcrumbs en 2025 es una oportunidad perdida.
Y si tienes un e-commerce, aún más.
5. Meta Tags Que Realmente Funcionan
Se podría decir que las meta tags son como el perfil de Tinder de tu página:
No se ven dentro del sitio web — pero deciden cómo apareces en los resultados de Google.
Así que si quieres más clics (y sí, mejores rankings también), toca hacerlo bien 👇
Meta Titles: Tu Primera Impresión
La etiqueta title es ese titular azul y clicable que aparece en Google — y sigue siendo uno de los factores on-page más fuertes.
Reglas básicas:
- No superes los 60 caracteres — deja un pequeño margen de seguridad (idealmente 56-58). Si te pasas, se corta en los resultados.
- Incluye tu palabra clave principal si suena natural — pero haz que sea atractivo para humanos. Tu objetivo es que la gente quiera hacer clic.
- No repitas títulos entre páginas — cada una merece un título único que refleje su contenido. Si hay incongruencias, Google lo penaliza.
- Piensa como un copywriter — llama la atención, crea curiosidad, ofrece valor… sin caer en el clickbait barato.
Meta Descriptions: Tu Minipitch
Este es el texto gris que aparece debajo del título en los resultados de búsqueda.
No influye directamente en el ranking… pero sí en el porcentaje de clics — y eso, a largo plazo, sí puede mover la aguja 🚀
Piensa en la descripción como un mini anuncio de tu página. Debería:
- Encajar con la intención de búsqueda — dile al usuario que va a encontrar lo que está buscando.
- Resaltar un beneficio o solución, y crear curiosidad o urgencia.
- Incluir una palabra clave relevante de forma natural — a veces Google la resalta en negrita.
- Mantenerse debajo de 155–160 caracteres — si es más larga, se cortará… o Google la ignorará y usará otra parte de tu contenido.
Aquí van unos ejemplos simples:
| 📝 Tema | 👍 Buena Meta Descripción | 👎 Mala Meta Descripción |
|---|---|---|
| Guía SEO On-Page | Descubre 10 consejos clave para mejorar tu SEO on-page y subir posiciones en 2025. Claro, práctico y sin tecnicismos. | Página de inicio con tips SEO. Bienvenido a nuestro sitio. Haz clic para más info. |
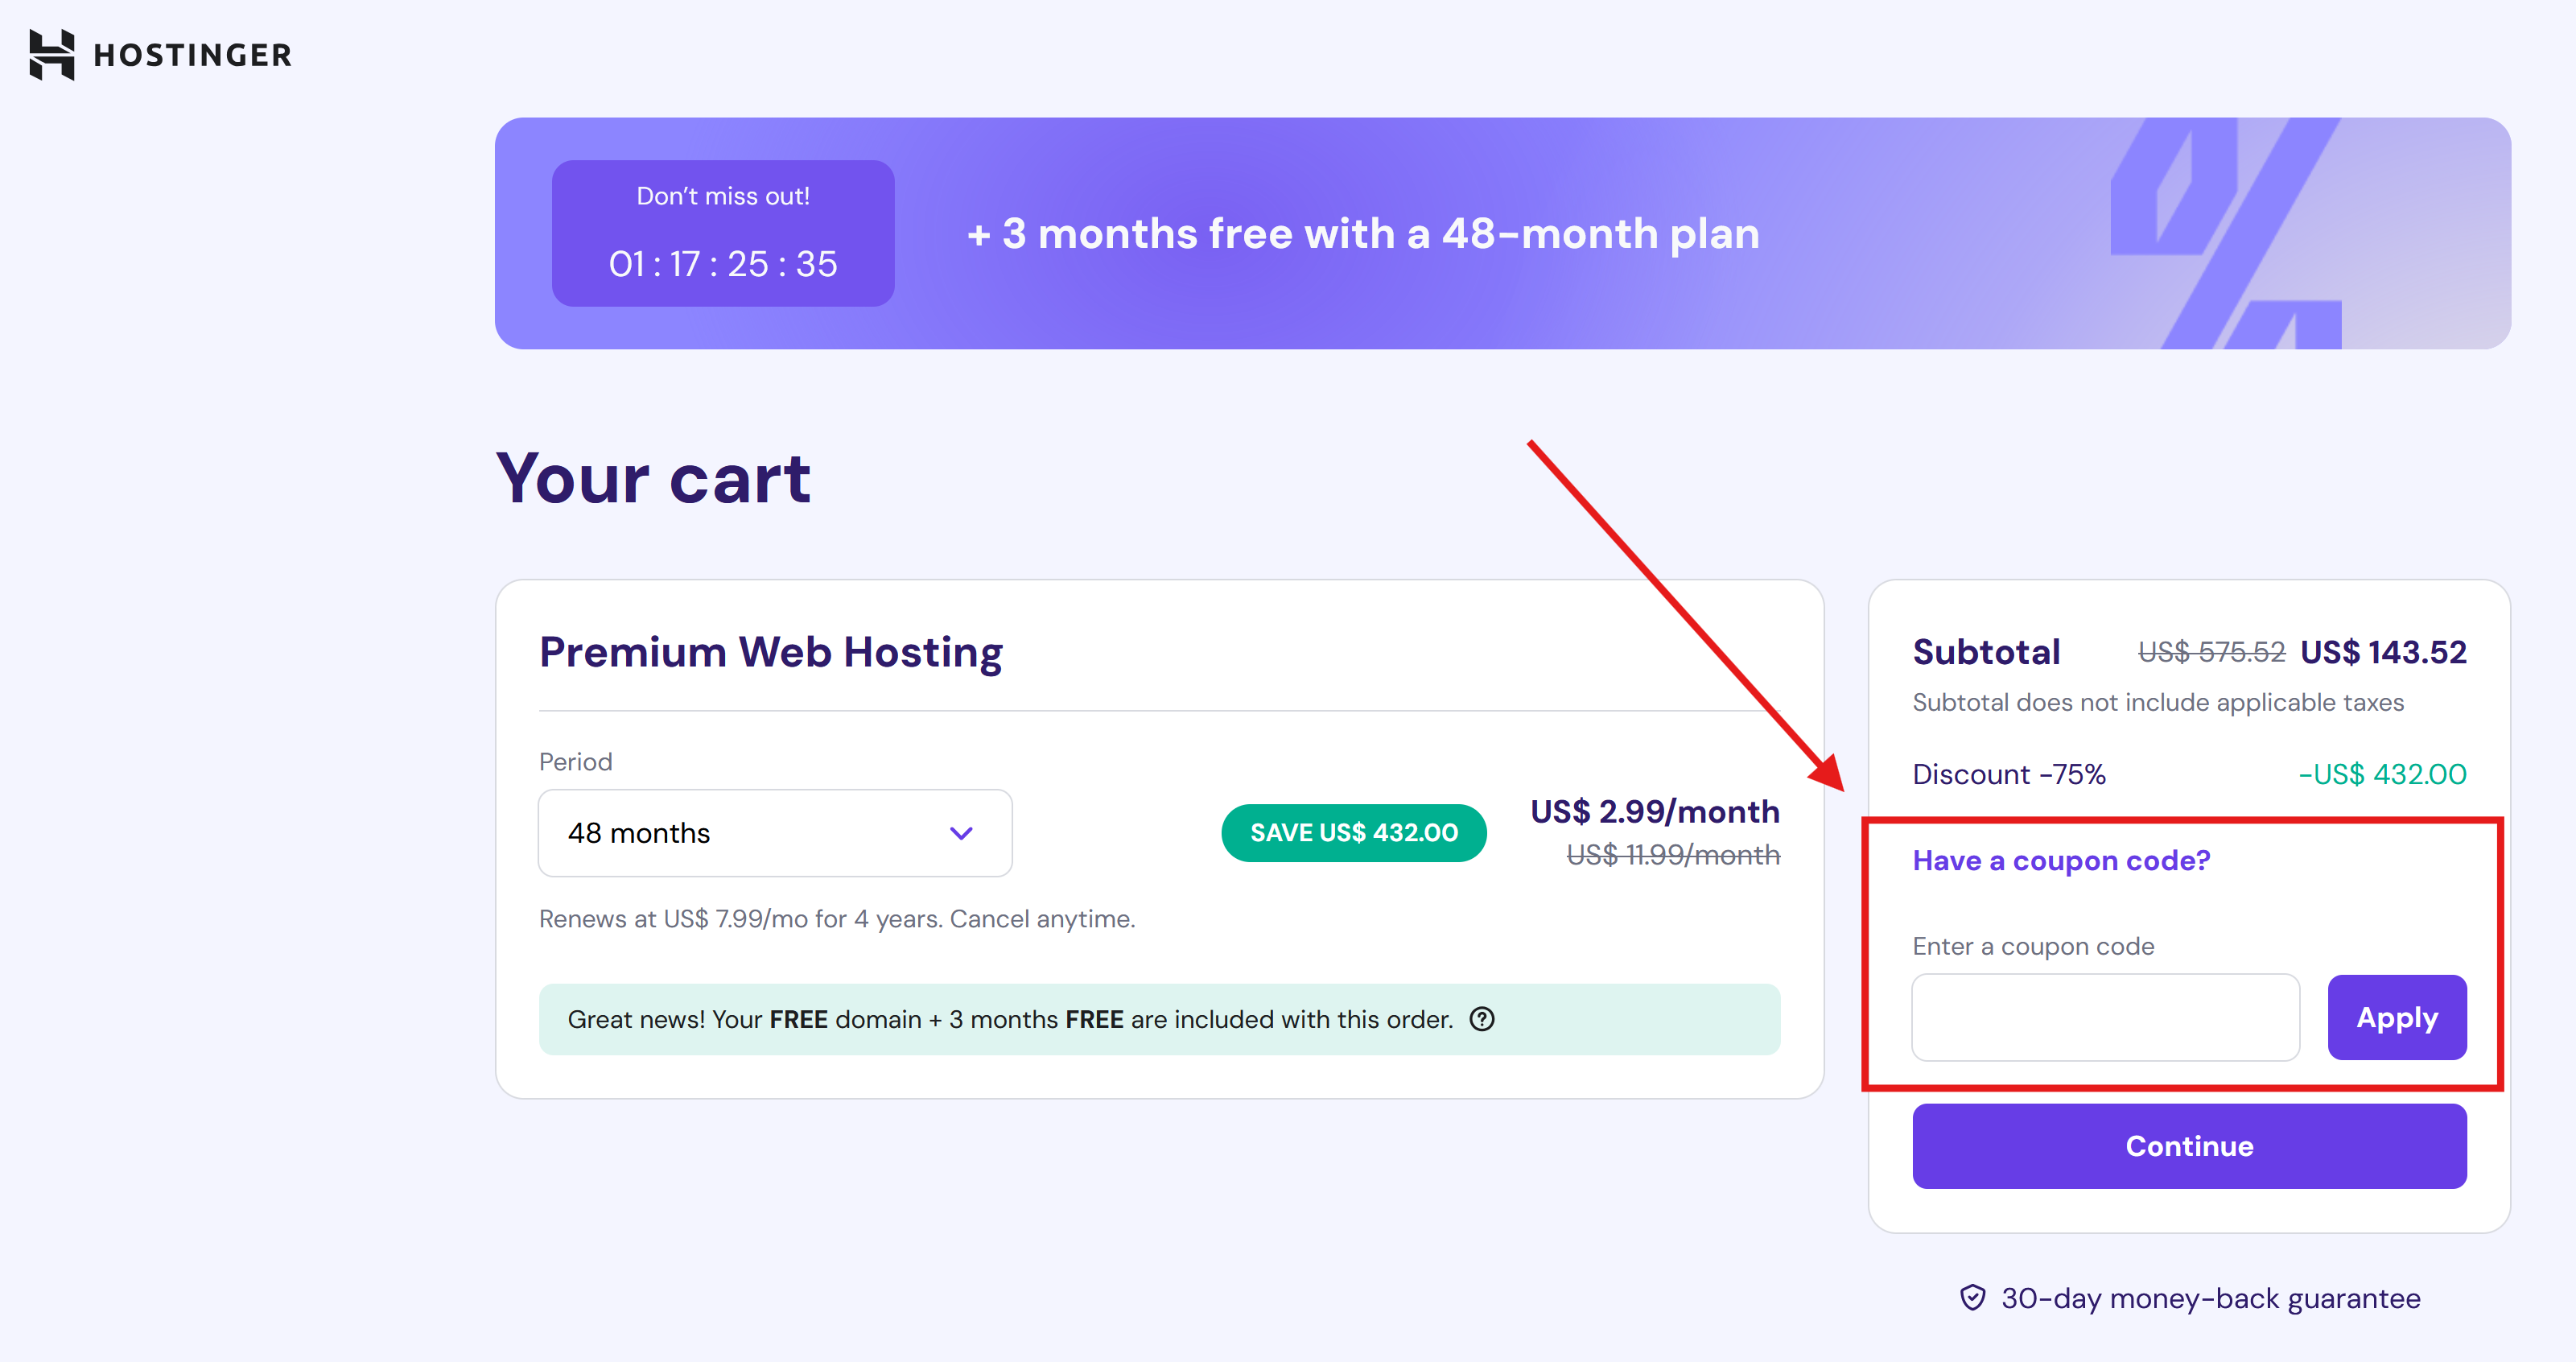
| Reseña Hosting | Analizamos el rendimiento, soporte y precios de Hostinger en 2025. Descubre si es el hosting ideal para ti. | Opinión sobre Hostinger. Lee lo que pensamos del servicio de hosting. |
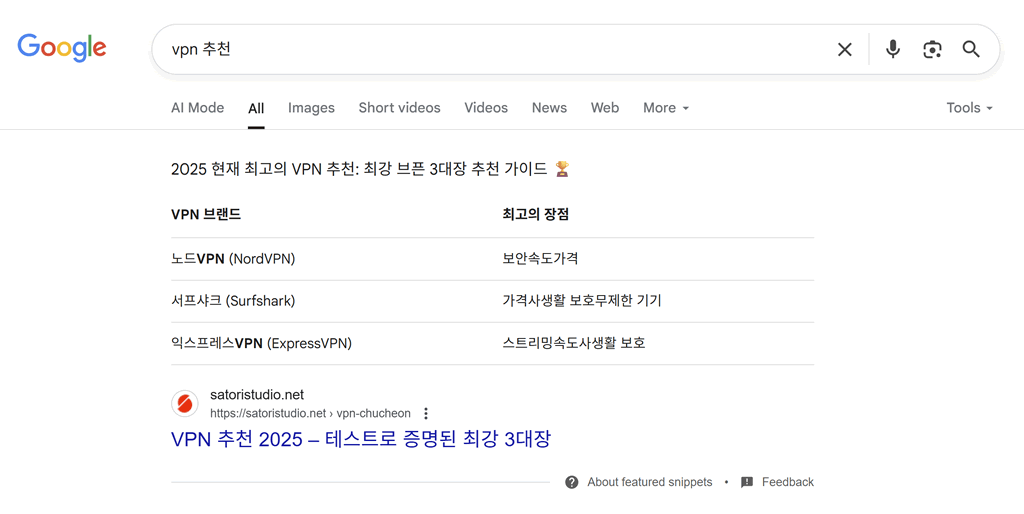
| Comparativa VPN | Top 3 VPN para streaming, privacidad y velocidad en 2025 — con pruebas gratis y enlaces con descuento. | Lista de VPNs para explorar. Herramientas explicadas en el blog. |
| Página de producto (ej. camiseta) | Camisetas personalizadas con envío gratis y descuentos por volumen. Sube tu diseño o elige entre 1000+ plantillas. | Página de camiseta. Compra camisetas online en nuestra tienda. |
Si haces bien los títulos y descripciones, ya tienes ventaja sobre el 50–60% de páginas ahí fuera.
¿Vamos un poco más allá?
Bonus: Schema Markup
¿Quieres que tu resultado en Google destaque con estrellitas ⭐, precios o secciones FAQ desplegables?
Eso se consigue con datos estructurados (también llamados schema.org markup). Son fragmentos de información “oculta” que ayudan a Google a entender mejor tu contenido — y a mostrarlo en formatos especiales (rich snippets):
Tipos útiles de schema:
Article– para posts y noticiasFAQ– genera secciones desplegables con preguntas y respuestasProduct– muestra precio, stock, valoracionesBreadcrumbList– mejora la visibilidad de tus breadcrumbs
Si usas WordPress con plugins como RankMath o Yoast, puedes aplicar schema sin tocar código.
Si no, puedes probar con el Rich Results Test de Google para ver si está bien implementado.
Eso sí: usar schema no garantiza que obtengas rich snippets — pero si no lo usas, ni siquiera entras en la competición.
Consejos Avanzados: Core Web Vitals y UX Móvil
¿Ya optimizaste tu contenido, tus imágenes y tus títulos… pero aún no subes en Google?
Probablemente Google esté observando otra cosa: qué tan rápido, estable y usable es tu sitio — especialmente en móviles.
Y aquí entran los famosos Core Web Vitals 🧪
Son un conjunto de métricas que Google considera parte de su algoritmo de ranking — especialmente desde la actualización de Page Experience.
Estas son las 3 métricas clave a las que deberías prestar atención, explicadas sin jerga:
| 📊 Métrica | 💡 Qué Mide | 🚀 Resultado Óptimo |
|---|---|---|
| LCP (Largest Contentful Paint) | Qué tan rápido carga la parte principal de la página | < 2.5s |
| FID (First Input Delay) | Cuánto tarda en reaccionar la página al primer clic o toque | < 100ms |
| CLS (Cumulative Layout Shift) | Si los elementos “saltan” mientras carga la página | < 0.1 |
Puedes analizar estos indicadores con herramientas como PageSpeed Insights, WebPageTest o GTmetrix.
Optimizar velocidad y estabilidad visual es un tema grande en sí mismo — estamos preparando una guía dedicada que cubrirá esto a fondo, ¡mantente al tanto!
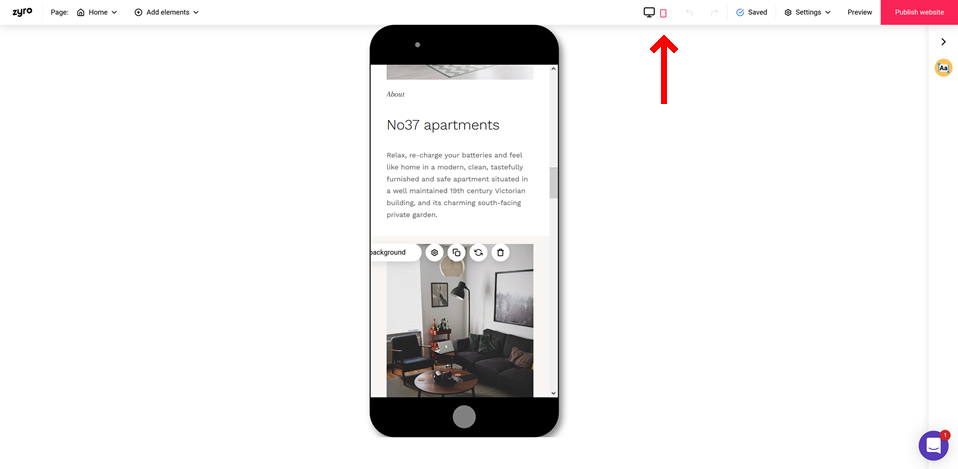
UX Móvil: Donde Vive Tu Audiencia Hoy
Desde 2019–2020, Google usa un índice mobile-first — o sea, evalúa tu web principalmente en su versión para móviles.
Evita estos errores comunes:
- No ocultes contenido importante en pestañas o acordeones poco visibles. Si lo haces, que sea claramente accesible.
- Haz que todo sea “tappable”. Los botones deberían medir al menos 48px de alto y ancho — que se pueda tocar con el dedo sin fallar.
- No uses popups que bloqueen el contenido apenas se carga la página (especialmente en móviles).
- Evita tipografías pesadas — usa fuentes del sistema o de carga rápida como las de Google Fonts para evitar “saltos” de diseño.
- Diseño responsive de verdad. No sirve con tener “versión móvil” o subdominios tipo
m.tusitio.com. Tu web debe adaptarse fluido a cada pantalla.
En 2025, la mayoría del tráfico viene desde móviles — si tu UX móvil es lenta o frustrante, no solo se irán los usuarios… Google también.
Checklist de SEO On-Page (Resumen Rápido)
¿Muy largo y no lo leíste? ¿O simplemente quieres hacer un último repaso antes de publicar?
Aquí tienes tu checklist de SEO on-page — sin relleno, solo lo esencial.
🧠 Contenido y Estructura
- Solo un H1 por página — incluye tu palabra clave si encaja de forma natural
- Divide el contenido con subtítulos H2 y H3 — sigue una jerarquía lógica
- Escribe para personas primero — no para bots ni para porcentajes de densidad
- Cubre subtemas relacionados para mejorar la profundidad temática
- Usa párrafos cortos y formatos variados (listas, tablas, citas)
🖼️ Imágenes y Multimedia
- Comprime las imágenes (idealmente menos de 300KB cada una)
- Usa nombres de archivo descriptivos y texto
altcorrecto - Coloca las imágenes cerca del contenido relevante
- Usa captions (pies de foto) si aportan contexto — no solo decorativos
🧭 Diseño y Experiencia de Usuario
- Utiliza tipografía clara y buen espaciado — mínimo 16px para cuerpo de texto
- No escondas contenido clave en acordeones o pestañas
- Prueba en móvil — sin scroll horizontal, sin zoom, sin bugs visuales
🔗 Navegación e Interlinking
- Enlaces internos entre páginas relacionadas con texto ancla útil
- Menú principal claro y footer con enlaces relevantes
- Breadcrumbs si tu estructura tiene más de 1–2 niveles
🔍 Meta y Técnica
- Título meta personalizado con palabra clave + gancho (máx. 60 caracteres)
- Descripción meta única con beneficio claro (máx. ~155 caracteres)
- Usa schema markup (FAQ, Article, Breadcrumb, etc.)
- Analiza tus Core Web Vitals con PageSpeed Insights o GTmetrix
¿Necesitas cumplir con el 100% de esta checklist para posicionar? No. Pero cuanto más te acerques, mejores serán tus oportunidades.
Róbate esta sección, guárdala en favoritos, o mejor aún — hazla parte de tu proceso de publicación 🔁
Reflexión Final – y Ahora Te Toca a Ti
Si hay una idea clave que deberías llevarte de todo esto, es esta:
El SEO on-page no trata de complacer un algoritmo. Trata de construir páginas que la gente ame — y facilitar que Google lo entienda.
Desde los títulos hasta las tablas, desde el alt text hasta la experiencia de usuario — cada elemento influye en cómo rinde tu contenido.
…Sí, el SEO off-page (como los backlinks) sigue importando.
Pero por muy buenos que sean tus enlaces, no te salvarán si tu página carga lento y espanta a los usuarios 🧟
¿La buena noticia?
Tú tienes control total sobre lo que pasa dentro de tus páginas.
Y esta guía ya te dio todo lo necesario para convertirlas en máquinas de posicionamiento.
¿Cuál es Tu Mayor Duda o Traba con el SEO On-Page?
Ya sea que estés optimizando tu primer post o rehaciendo un archivo enorme de contenidos, nos encantaría leerte:
- ¿Cuál fue el consejo de SEO on-page que más te ayudó?
- ¿Hay algo que todavía no te queda claro en esta guía?
- ¿Quieres que revisemos un ejemplo o que preparemos una plantilla de checklist descargable?
Deja tu comentario en la sección de abajo — hagamos de esto una conversación, no solo otra guía estática.
Y si esta guía te resultó útil, compártela con alguien que todavía cree que “densidad de palabras clave” es la clave del éxito 🤭